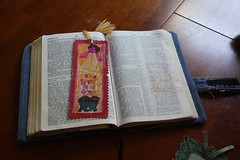
My latest creative project was inspired by a request from my husband. His favorite Bible is starting to look pretty bad, and he wanted a custom made cover.
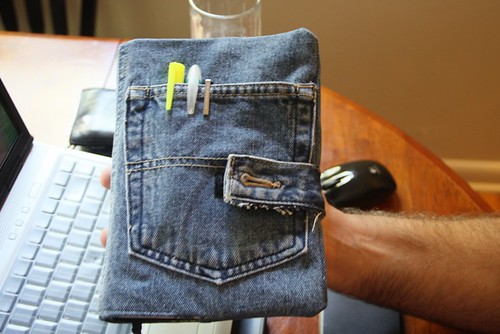
A trip to my favorite thrift store was all I needed to find my supplies. On the first afternoon of Sprite’s summer camp, I transformed a pair of jeans into a sturdy book cover with a Velcro closure. This project took me two hours to complete.
Here are my steps — actually very loose directions. (If you have no experience sewing, this tutorial will probably not be enough. But if you’ve made a few things, you’ll be able to sort out the specifics for making this yourself. This gives you a good starting point. By the way, my starting point was this bible cover tutorial. )
How to Make a Book or Bible Cover from Denim Jeans
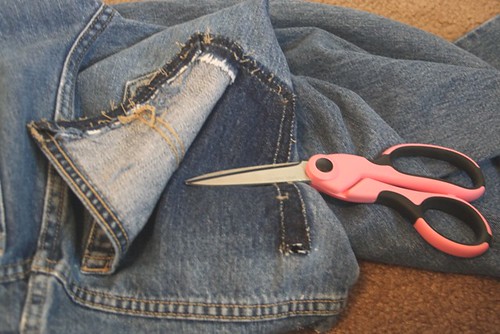
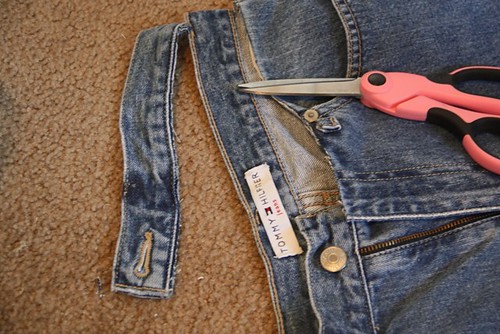
Remove a pocket from the jeans. The point is the pocket, so use your scissors to cut it away when necessary. A seam ripper is too wimpy for this task. I didn’t want to use the fabric underneath, so I didn’t worry about making nicks in it.
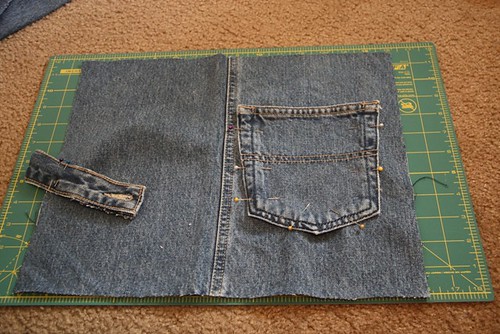
Cut off a length of the waistband, including the buttonhole. I trimmed it close and didn’t bother finishing the tiny threads hanging down. That gives it character.
Cut the legs off the jeans.
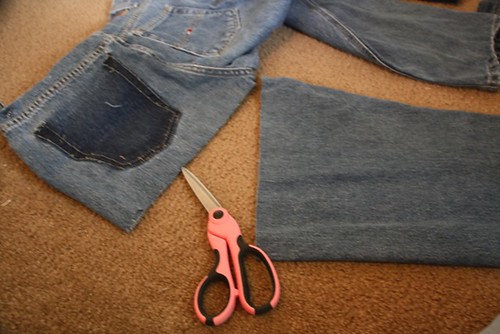
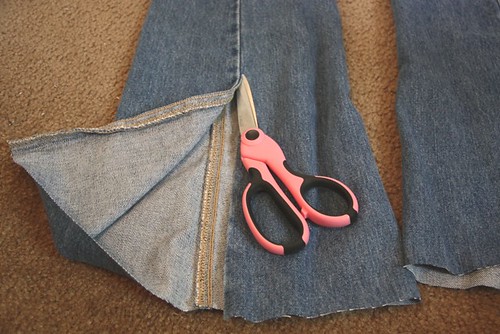
Cut up the inside seam. I chose leave the more attractive outside seam to use for the spine of my cover.
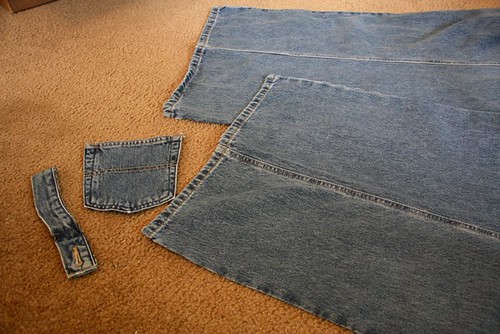
Here is what I have of my jeans, ready to use for the book cover — two legs, cut open (I actually only needed one leg), one pocket, and a buttonhole on a waistband.
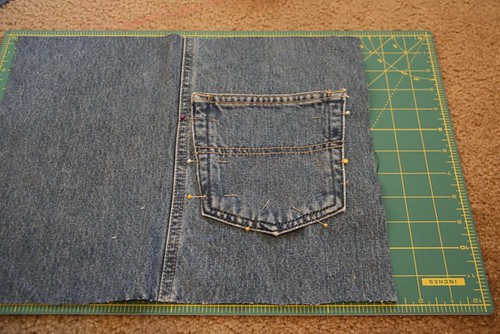
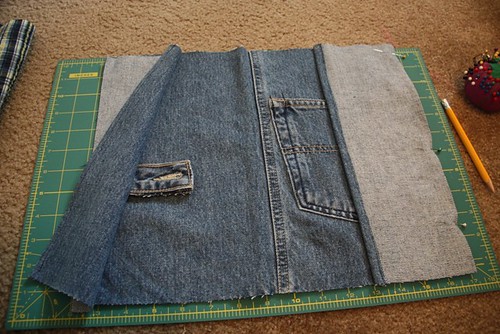
Cut a piece from the leg that is plenty big to cover around your book, including seam allowance top, bottom, and sides.

Test the size by wrapping the sides inside the front and back covers of the book. I liked the look of having that outer leg seam as the spine, so I positioned it in that way. Trim your base as necessary. Remember, you can always trim more, so it’s okay for it to be big to start with.
Position the pocket on the front of the cover and sew it on.
WAIT! Don’t make my mistake. Add velcro to the pocket before affixing it to the cover. I forgot to add the velcro until the end. By that time, I had to sew through all thicknesses of my cover, and it made one half of the pocket unusable. When I make the second one, I’ll do better.
Position your closure flap on the other side. This takes some pinning and practice folding to get it just right. Test as you go (using the book inside the fabric) to make sure it looks and works like you want it. Pin or baste in place.
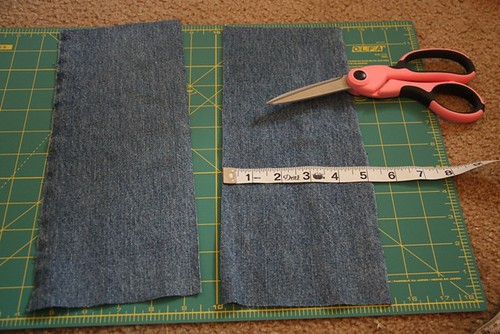
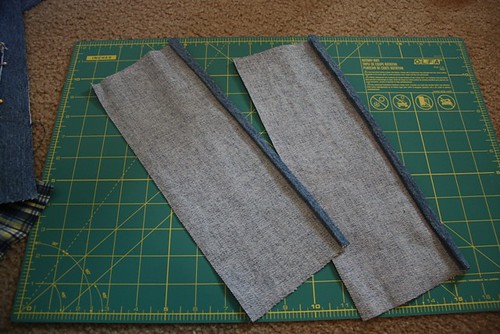
Make side flaps that are the same height as your base fabric and over half of the width of the front cover of your book. Mine turned out around 5 inches wide.
Fold up and hem one long side of each flap.
Sew the flaps on the base, right sides together, sandwiching in the waistband closure on one side.
At this point, I BASTED the pieces together and sewed across the top too. I tested the size on my book, made adjustments, and rebasted.

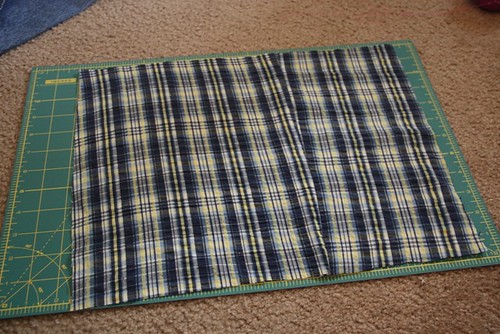
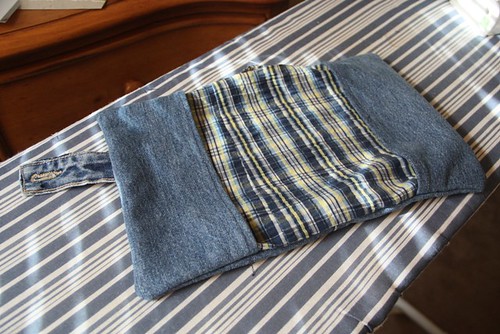
Cut another piece of contrasting fabric the same size as your base. (I used fabric cut from some hand-me-down seersucker pants.) Layer this lining on top of the existing piece, right sides together.
Sew along your basting stitches, joining all three layers all the way around. Well, not ALL the way around. Leave a spot at the bottom to turn the cover right side out. (Yes, I admit I often forget to leave the turning spot. No matter. A seam ripper works for correcting that mistake.)
At this point, I had some huge seam allowances. So I used pinking shears to trim all around my stitches. Then I clipped the corners.
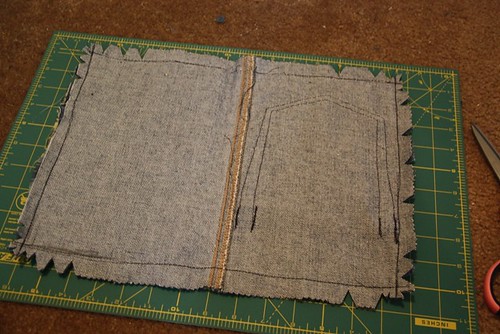
Turn the entire cover right side out and press it flat. Sew the hole close to the edges to finish the cover.

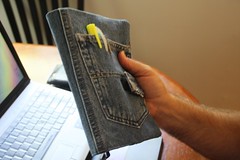
Test the closure and put the velcro on the buttonhole area where it fits to match the velcro you put on the pocket.
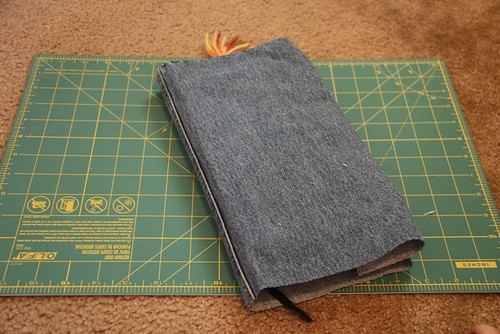
Put in your Bible or book. It will fit like a pair of well worn jeans. (smile)
You’re a much better seamstress than me. My greatest feat was designing and making a dress for my daughter, though that’s really because I can’t follow all those pattern directions. Love my apron 🙂
I love it! Thanks for the tutorial!
Wonderful! And we have plenty of well worn jeans around here that I was saving for making a purse or something. Great idea.
I made a drawstring bag and a tote too. I’ll be sharing those later.
This looks like just what I need. My three daughters all have new Bibles from Easter and I can’t see myself spending a ton of cash on covers. (I guess I really am a cheap-o. lol) However, they would love to “design” their own. Thanks for the the great photos and how-to.
Well done! Style with character – I’m sure my hubby would enjoy one too!
Wow Jimmie! I love this!
I’ll have to show this to my daughter. She took sewing lessons with my husband’s aunt a couple of years ago (they had to quit b/c my husband’s grandmother became ill and his aunt is caring for her), and I recently put her sewing machine out where it was more accessible. She’s been having fun coming up with all kinds of projects to do with her stash of yard sale fabric. Recently she made a skirt for each of her little sisters, an apron for her little brother, a pocketed door hanger for herself (and is working on another for one of her older brothers), some cloth napkins for me, and a quilted purse with a zipper which she designed from scratch. Most of this has been done without patterns (except for the apron which she made a pattern for by tracing another apron). Her great aunt is an amazing seamstress, but I had no idea how much my daughter had learned until she started all these projects! I’m sure she would love to try a Bible cover. 🙂
LOVE it! and is that MY hair I see in your profile picture?!? hahahahah!
I totally want a Bible cover like this…
amy in peru
Great tutorial! Very clear directions and lots of pics! Thanks!
This is so fun 🙂 Just was I was looking for, thank you!
Just wanted to say thank you. This will be a great project to teach the youth girls (boys too) at our church. Maybe for a fund raiser for them.