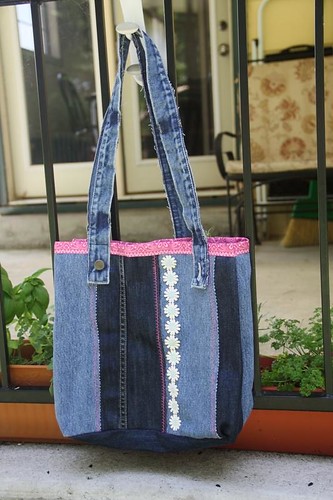
Tuesday of Sprite’s camp week turned out to be a very crafty day. One of my projects was turning a couple of pairs of jeans (plus a few other sewing notions) into a cute tote bag, based on the tutorial at Crafting a Green World.
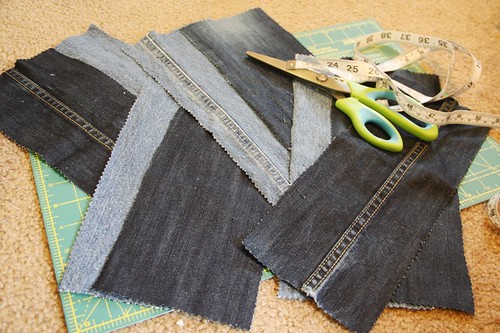
Start with eight rectangles, each 13 x 5 inches. I used pinking shears to cut out the pieces and kept the side seam detail on some of the pieces.
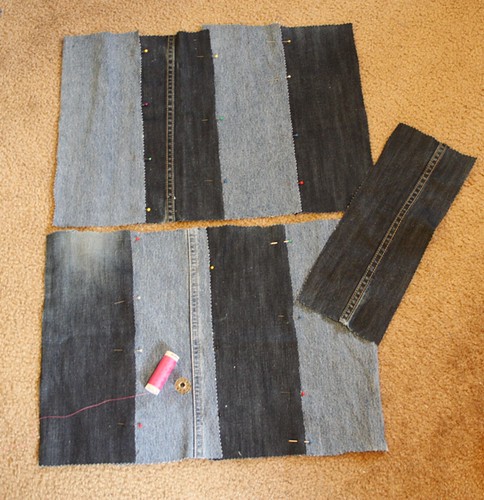
Then layer the pieces and top stitch them together. The idea is that as I use and wash it, the bag will become a bit raveled along those raw edges. (I love the worn spot at the top where Sprite’s knee used to fit into those darker jeans.)
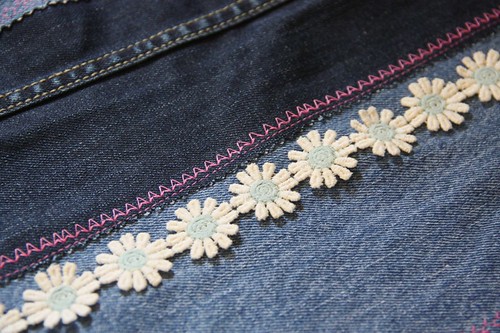
Here are my two side panels, sewn and embellished.
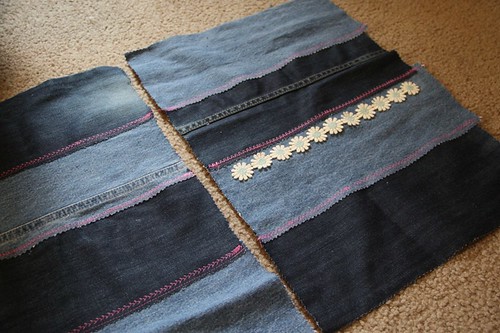
I have only a few decorative stitches on my machine, but they added quite a bit of interest to the project.

The daisy trim is something I found at a yard sale. I love having an assortment of laces, trims, and notions to choose from on a project like this.
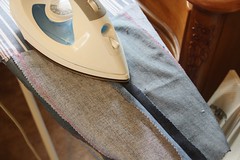
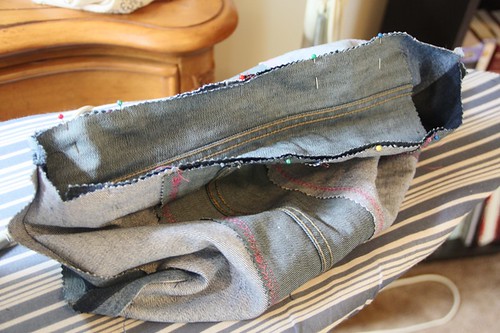
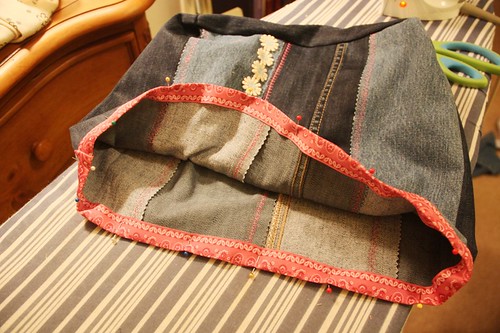
The next step is to sew right sides together and iron open the seams. Then I added the bottom. This step is a bit tricky. Start with the center of the long sides of the bottom, pinning them to the centers of the side panels. Work outwards from the center, pinning as you go. Mine didn’t measure exactly at the ends, but I made it work. There are a few puckers. But for a repurposed bag, I think small imperfections add character.
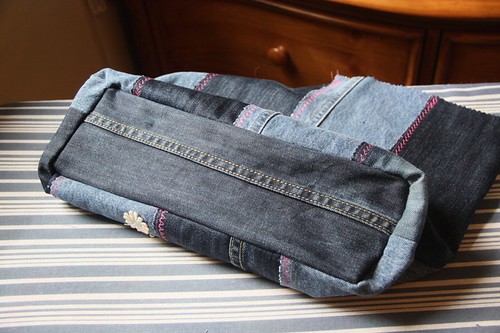
This is the bottom, seen from the right side.
The directions at Crafting a Green World suggest leaving the top unfinished, but I felt that it just needed something. Hobby Lobby to the rescue. I found some fun bandanna inspired ribbon that I used like double fold bias tape to encase the top edge.
For the straps, I sewed on the waistbands from two pairs of pants. Simply trim the waistbands very close to the finished edge. There will be some fraying, but it should add to the relaxed look of the bag.
What do you think?
I LOVE this. I’m always looking for ways to repurpose stuff. This is perfect. Thanks for the idea and the tutorial!
This is a great tote! Might be just what I need to do with that pile of jeans in my sewing stash. Great job.
Super cute and a great idea.
What do I think? I think I love it! It makes me smile to see your sewing projects. I can feel your pleasure as you explain and describe the process. {{{hugs}}}
I want one too! I might be able to do this. I *think* I’m a crafty person and I sometimes “wing it” on craft projects. I love the handles with the buttons and button holes. I also love how the pink pops out from the denim. Beautiful Jimmie!
Here’s my denim recycled jean bag:
http://love2learn2day.blogspot.com/2011/01/made-me-math-bag.html
I love the way you used trim on yours. It’s beautiful! 🙂
Thanks. 🙂 I think of myself as anything BUT crafty, so it was a major feat. I love, love how pretty yours is. 😉
Jimmie, I adore this!
I miss you and wish we were neighbors. Micah was remembering your hubby today in conversation 🙂
oh, and I like your bag too 😉
amy
oh and don’t you want to link up to this on the CM blog carnival – handicrafts?! 🙂
you are so brave with your contrasting decorative stitching! i usually go with thread that blends in bc i can’t seem to cut or sew straight.
I think I’m jealous you have access to Hobby Lobby! 😉 Your bag is very cute though. 😀
That is so cute! I’m making a note of this one for a future handicrafts projects. My girls can never have too many bags (as far as they’re concerned – their father has his own opinion!).
This is awesome!
FUN! What a great project! I’m intimidated by sewing, but this seems simple enough for me. And I know I’ve got some old jeans that need to be repurposed!
Anna loves her Jimmie bag – thank you!
You know everything is fodder for the blog. Guess you’re not surprised to see my sewing projects here.
Loving this. Definitely giving it a try!
I luv this tutorial. I added a lining inside the tote bag. Thnx!
Emily,
My daughter and I would love to see a picture of your bag.
Hi how are you ,Ive been making some bags but ive been putting in some lining in them. I’m afraid of the fraying that is why i put lining in them . Is their another way I can do that without the lining. I need your sugestion thank you
Will this be strong enough for a grocery bag? I;m talking to my daughter and she has the idea of making it double thick, then cutting up an old windshield sun guard and inserting it in between the two pieces of denim to insulate cold/frozen items when shopping.
Great ideal! I have a military store. I am going to use military pants and make these pocket books. I think my customers will go nuts for them! Thanks Joyce
I love it! Is the bottom piece the same size ? 13×5? Thank you.
What a great idea with using vertical pieces! Who da thunk? I’ll be taking your lead with that to make a sturdy bag. Only the bag will be masculine, using my husband’s old jeans for his music book bag.